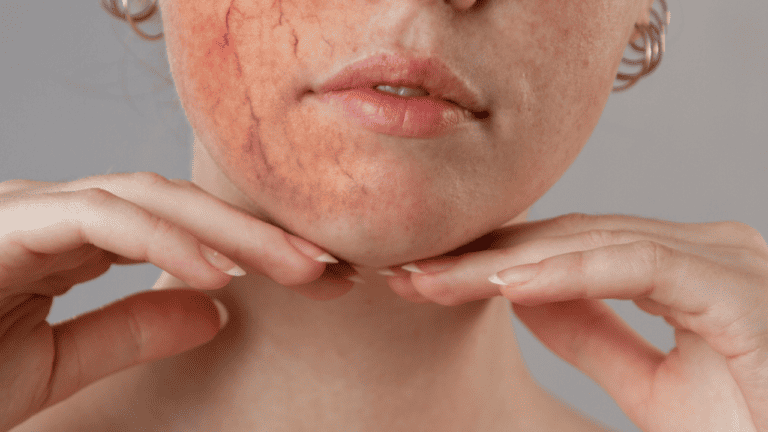
Acne scars can be a source of insecurity for many people, and it’s natural to want to minimize their appearance in photographs. For some reason, acne scars just look worse under certain lights and angles, but we can use knowing why to our advantage.
With the right lighting techniques and a bit of knowledge, you can significantly reduce the visibility of these scars and capture your best self on camera.
In this article, we’ll explore some of the best practices for using light to your advantage when capturing your photos. From mastering the art of natural lighting to choosing the right tools and techniques, we’ll guide you through the process of making acne scars less noticeable in your photographs.
Lighting Is Everything In Pictures
Proper lighting is your best friend when it comes to minimizing the appearance of acne scars in your photographs. By understanding and mastering the different types of lighting, you can significantly reduce their visibility and create stunning images. We’ll begin with 7 easy
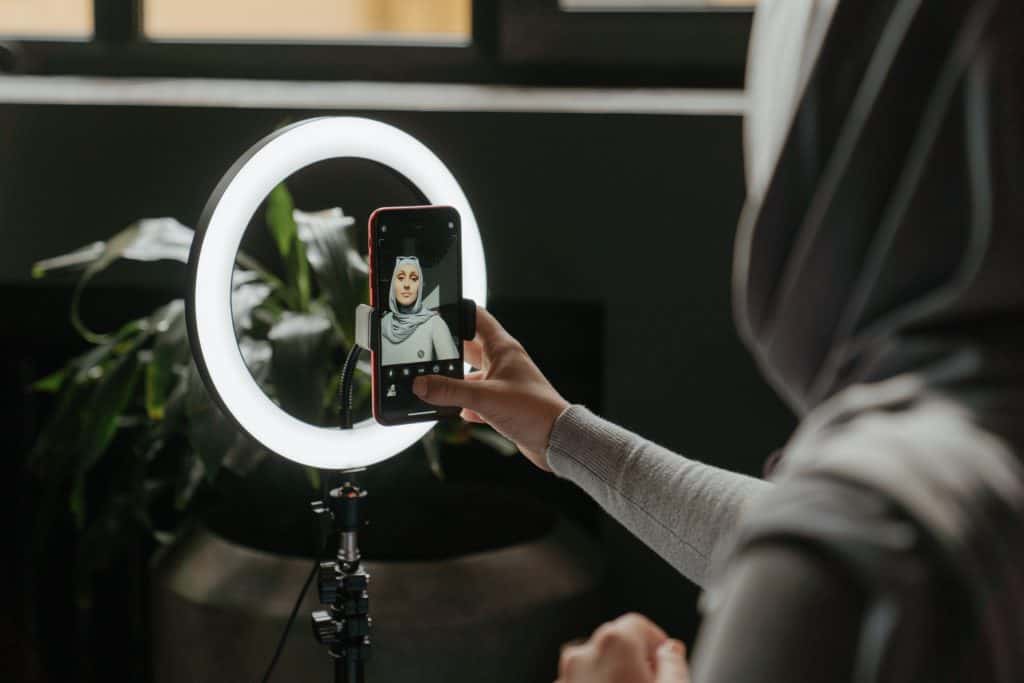
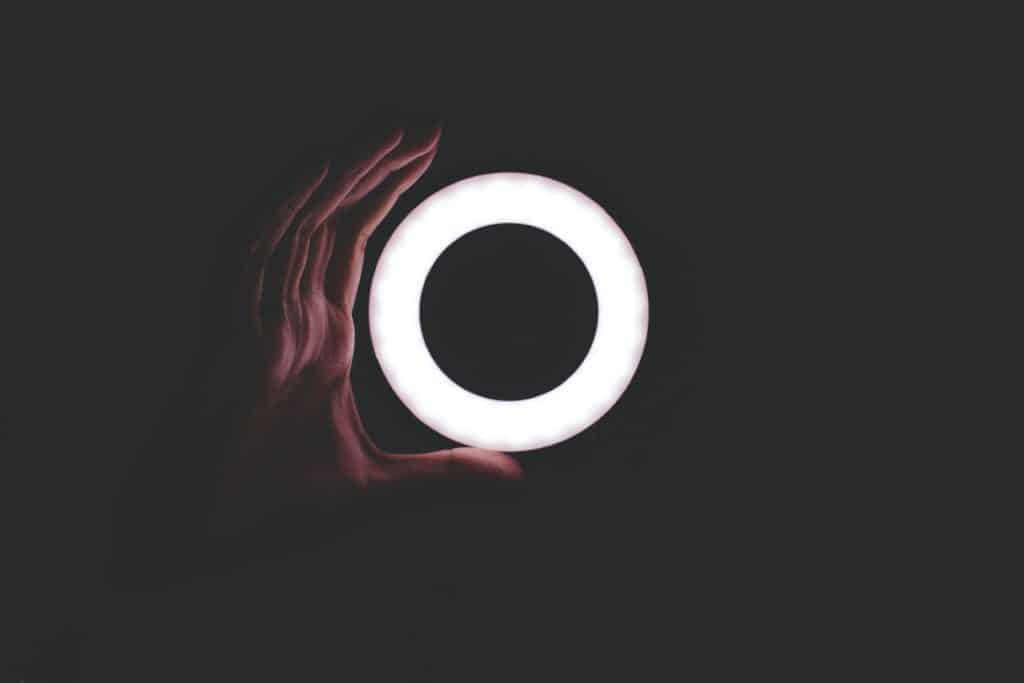
1. Consider a ring light, or look for natural direct light
This is the easiest way to hide acne scars, so start taking notes! Notice how a lot of Twitch streamers, and professional YouTubers have this round big light in front of them sometimes? That’s called a Ring Light, it basically removes texture from our face which is what makes acne scars visible.
Ring lights diffuse light all over your face, which helps to create an even skin tone because it completely fills in any shadows that pitted or raised acne scars cause.
Frontal or direct lighting is essentially what ring lights accomplish for you without having to rely on natural lighting. It’s like taking a spotlight to your face. It minimizes texture, giving your subject a flat, almost two-dimensional look. In other words, frontal lighting is to acne scars what Harry Potter’s cloak is to him when he’s trying to sneak around – a perfect invisibility charm.
So how do you get frontal lighting no matter where you are? Think about investing in a phone ring light. There are small ones you can get from Amazon that you can clip over your selfie camera and easily gives you a smooth, scar-free-looking face.
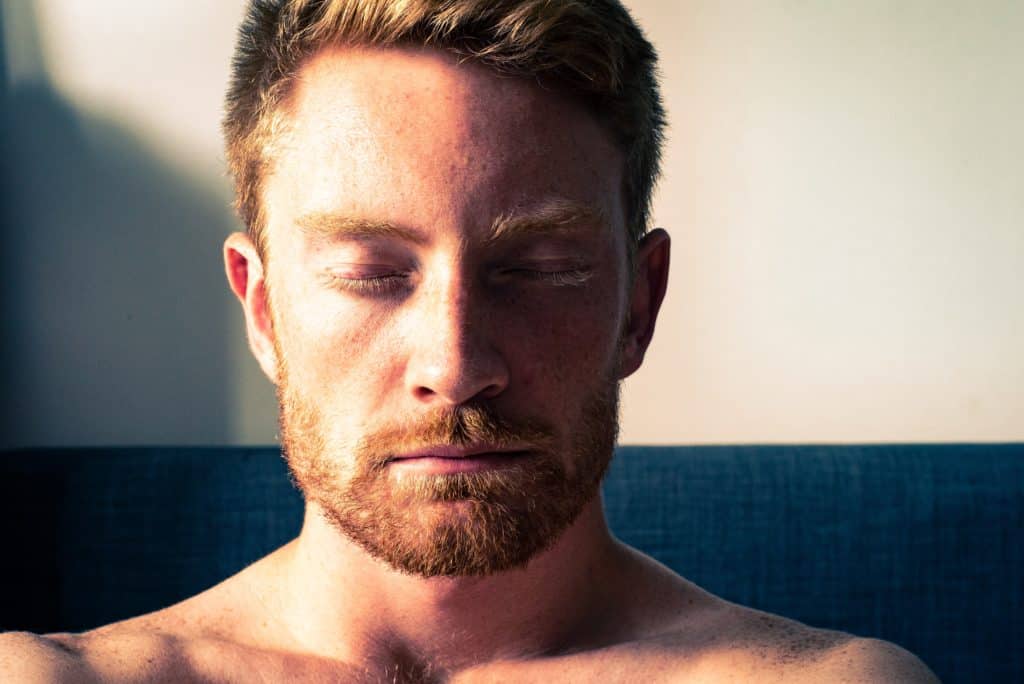
If you’re outdoors, find the sun, and face the sun before taking a picture. Your face should be directly facing the sun so that the light completely fills all the shadows caused by pores, acne scars, and even your nose!
2. Stay away from side lighting
Side lighting is the drama queen of light directions. If you’re taking pictures without diffusers or reflectors, direct light can be too harsh which makes it cast long, theatrical shadows, and on the other side, it will be so bright that the contrast emphasizes texture, everything we don’t want. Normally side lighting is like an acne scar’s best friend, it makes them stand out like they’re auditioning for the lead role in a high school drama.
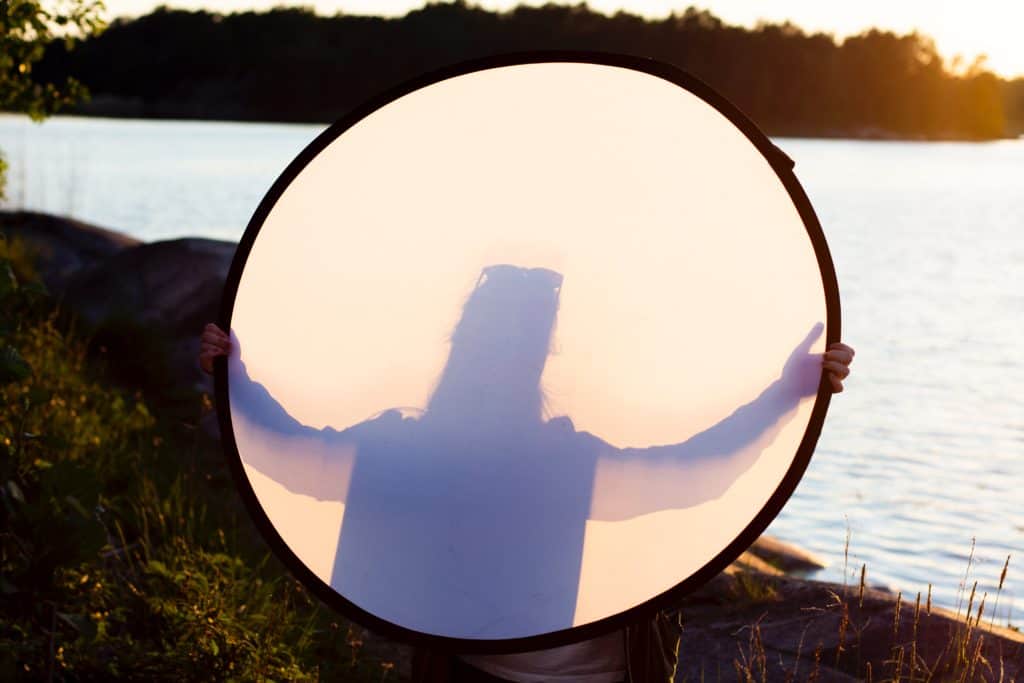
3. Use reflectors to take it up a notch
Really, frontal lighting is all you truly need to get an even skin tone and hide your acne scars. But, if you want to take it a step further into photography skills, get a reflector.
Reflectors will bounce light back onto your subject, in most cases, you. It illuminates areas that may have been underexposed by your lighting. They’re the perfect way to manipulate light and help illuminate the subject even more.

4. Diffusers make your skin look filtered
Diffusers are like a little magic trick that helps to soften harsh lighting. Although we want direct light, if it’s too bright it could completely cancel out shadows that give your face the right curves, and it might even completely cancel out the contour of your nose.
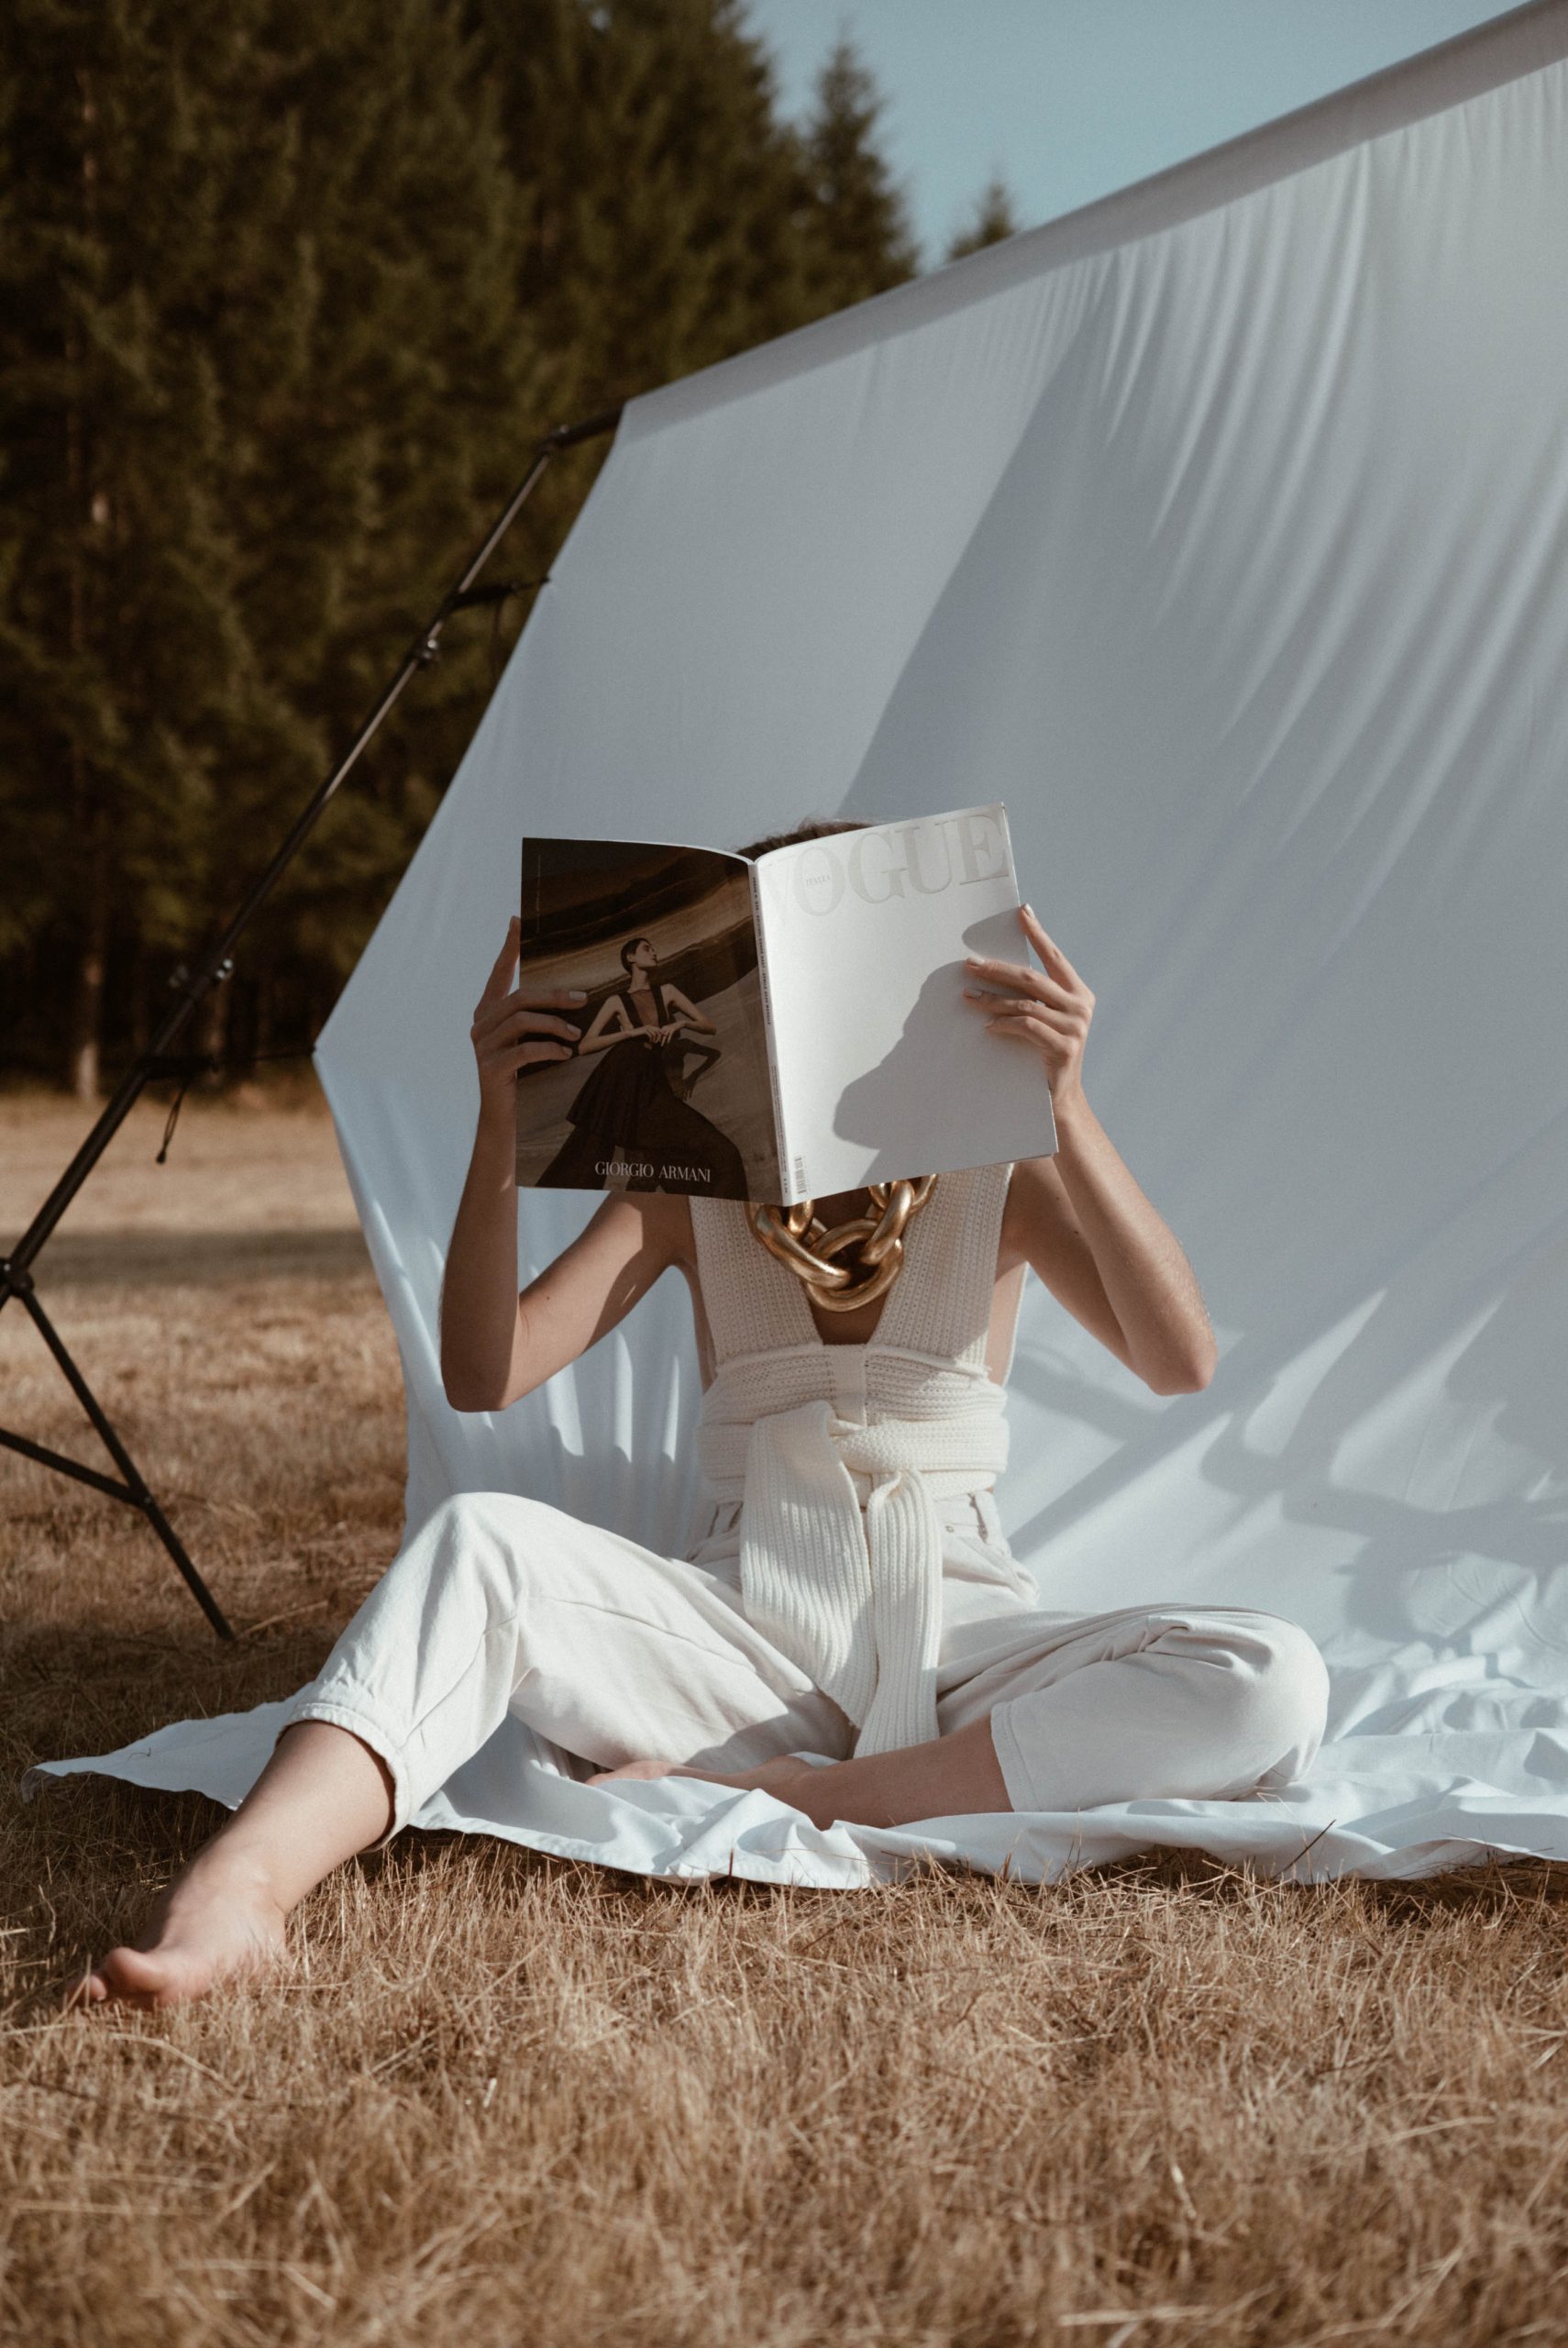
If you don’t always want to face the camera directly, you can easily use diffusers like a sheer curtain to help spread out light all over your face which will draw the viewer’s eyes away from your scars. It’s like putting a cozy blanket over your lighting, making everything feel a little more comforting and less harsh.
Also, diffusers allow you to not solely depend on ‘frontal lighting’ for perfect skin because they reduce contrast and soften shadows just by using them.
5. Give backlighting or rim lighting a shot

Another useful tip is to employ backlighting or rim lighting. By positioning the light source behind you, you can create a subtle glow around the edges of your face, drawing attention away from acne scars and imperfections. It’s the halo effect and will make you look marvelous.
6. Take a step back

We often think of taking pictures as far as our arm extends. Selfies! Am I right? But one of the best ways to hide your acne scars is simply by using distance! The closer the camera is to your face, the sharper everything will look, your eyes will look bigger, but so will your acne scars.
By experimenting with different lighting techniques, you can take control of how your acne scars are portrayed in your photographs. Keep practicing and adjusting your setup, and soon you’ll find that those acne scars will fade into the background, allowing your true beauty to shine.
Best Natural Lighting Sources
- Near Windows: Large windows are a photographer’s best friend. They provide ample light that is often soft and diffused, especially if the window is partially covered with a sheer curtain.
- Open Shade: This can be found under a tree canopy, a building overhang, or a shaded alleyway. Open shade provides evenly diffused light that is great for portraits, as it reduces harsh shadows.
- Golden Hour: The golden hour, which occurs shortly after sunrise or before sunset, is universally known for providing a warm, soft light that creates stunning photographs.
- Blue Hour: The blue hour is that short period before sunrise and after sunset where indirect sunlight gives a predominantly blue shade to the sky. It’s perfect for capturing moodier, dramatic images.
- Overcast Days: Although it might seem counterintuitive, overcast days provide beautifully diffused light. The clouds act as a giant softbox, spreading the sunlight evenly and reducing harsh shadows.
- Water Bodies: Lakes, rivers, and oceans can provide fantastic natural light. The water surface reflects light, and this can create mesmerizing effects, especially during sunrise or sunset.
- Snow-Covered Landscapes: Snow is a great reflector of light, making snowy landscapes a perfect spot for photography with an abundant natural light source.
- Open Fields: An open field under a clear sky can provide plenty of natural light, especially around midday when the sun is at its highest.
- Mountaintop or High Elevations: Being at a higher elevation often means less obstruction and clearer, more abundant light, especially during sunrise or sunset.
Natural Light Diffusers and Reflectors
Utilizing natural light diffusers available in everyday life can greatly improve the appearance of acne scars. They can soften the light and help you control the direction and shape by reflecting or diffusing it. Here are some common ones you can consider:
- Window Sheers or Curtains: The thin, usually white fabric not only allows light in, but it also scatters it, creating a soft, diffused light. They can be incredibly useful for indoor photography.
- Clouds: Yes, those fluffy formations in the sky work as a massive diffuser of sunlight. On a cloudy day, the light is diffused evenly, reducing harsh shadows and creating soft, balanced light.
- Tree Canopy: Trees with dense foliage can break up direct sunlight and create a gentle, dappled light effect on the ground below.
- Reflective Surfaces: While not diffusers in the traditional sense, reflective surfaces like white walls, light-colored buildings, or even a large piece of white cardboard can bounce light around, effectively softening and diffusing it.
- Umbrellas: If you’re in a pinch, a white or light-colored umbrella can act as a makeshift diffuser. Just place it between your subject and the light source to soften the light.
- Frosted Glass: Just like your window sheers, frosted glass also diffuses light. It could be a frosted window or even a DIY frosted panel.
Post-Processing Techniques
Retouching Tools
In post-processing, using retouching tools is helpful to minimize the appearance of acne scars. The most common tool in photo editing software is the Spot Healing Brush. This tool automatically samples pixels around the scar and blends them for a natural look. Begin by selecting a small brush size, then click on the scar. The software will do the rest. Remember to zoom in on your photo for better accuracy.
Another useful tool is the Clone Stamp. With this tool, you can manually select an area of clear skin to sample, then apply that texture over your acne scars. Press the Alt key (or Option on Mac) and click a clean area, then release and paint over the scar. Take care in choosing similar skin tones while sampling and adjust the brush opacity for optimal blending.
Color Adjustments
Color adjustments can help reduce the visibility of acne scars. The Curves tool is particularly useful for this. Create a new adjustment layer and choose Curves. Raise the shadows and lower the highlights to even out the overall skin tone. This helps in making acne scars less noticeable.
Another tip is to consider the Hue/Saturation tool. Create a new adjustment layer, and select Hue/Saturation. Slightly reduce the saturation of reds to make the scars less prominent. Be cautious not to go overboard because it might result in a washed-out or artificial skin tone.
Remember, practice makes perfect. The more you experiment with these techniques, the better your photos will look. Happy editing!
Pulling It All Together
So, there you have it. Tackling acne scars in photography isn’t about a top-secret Photoshop trick or wearing a makeup mask. It’s about understanding how to paint with light. With the right direction, some cunningly placed shadows, and a little help from your pals, the reflectors and diffusers, you’ll have Bob retreating faster than a vampire at sunrise. Now, ready your cameras, photographers, it’s time to put this knowledge into practice and shoot your masterpiece!